Tuesday, January 31, 2012

Ships Ahoy!


We designed this baby shower with our client to celebrate her son and daughter-in-law's first baby. The baby's nursery was in a whale theme but the mom-to-be was having another shower in this theme. They wanted a shower that coordinated but didn't copy the whale theme. We thought a vintage nautical design would be perfect in a range of blues, off-white, and a touch of rustic red. Our sea-faring inspirations came from the iconic rope wrapped anchor.


We were blessed to start planning the shower from the beginning. This gave us the chance to design and craft the invitations.


Instead of a printed sign behind the dessert table we hand painted a large anchor and the baby's name on a large piece of canvas that lended to a more vintage look. We painted and distressed crates and then stenciled the words "Adore", "Easton", and "Always" on them. We made decorated crab cookies as favors and used the crates to display them. The mom-to-be took the crates home to use as nursery storage!


We used a mold to make color coordinated anchor decorations to place on the cake pops for a great dimensional look. 


And when we think of nautical, we think of weathered wood that's been exposed to the salty air so we an antiqued look to everything as well as treats that were both sweet and salty. We crafted these delicious salted caramel shortbread bites that were very popular. We also made red velvet whoopie pies because the mom-to-be loves red velvet cake.


To make all of the paper products look vintage, we printed on watercolor paper. The result was better than expected! The cupcake toppers had that look of being weathered by the sea air which was all because of the textured paper. Instead of a traditional pennant shaped banner we designed nautical flag shaped banner that was used in front of a table as well as mini nautical flags that wrapped around the vintage gallon jug.


We created a 'message in a bottle' station for the guests to write words of advice and encouragement to the new mom. Above this table was a huge television that our client asked for us to cover up. We designed a large sign which just looked like an amazing three dimensional sign and not just a TV cover up. On this table we also placed an amazing model ship! With a little paint and creativity, we made it a one-of-a-kind personalized piece of art.


The shower was so much fun to create and it was great that the mom-to-be wanted and was able to use the personalized crates, canvas artwork, and detailed wooden ship for the baby's nursery.


This party is available on our Etsy shop! Click here

Vendor Credit & Resources
Event Design, Invitation and Printables: Honeycomb Events & Design
Personalized canvas artwork with anchor: Honeycomb Events & Design
Cupcakes: Icing on the Cupcake Sacramento, CA
Cake pops, whoopie pies, and crab cookies: Honeycomb Events & Design
Floral centerpieces: Grandma-to-be, Cindy Keck
Crates (that were painted blue): Joann Fabric
Vintage Pepsi crate: etsy seller, amyrebeccadarabcsek
Anchor mold: globalsugarart.com

Wednesday, January 11, 2012

DIY: Tufted Leather Board

Jennifer's little boy is turning 1 this week. In preparation for his little gentlemen's birthday party, we created this tufted backdrop for the dessert table. This can easily translate into a very inexpensive headboard. We went with leather, but if you go with more inexpensive fabric, you can create this same look for under $50.


The raw materials you'll need. Use any 1/4" plywood, you'll cover it up, so what does it matter if it's pine or not. This is when you can go cheap and save some money.


2. Mark where your holes for each button will go, and choose the pattern. Generally speaking, the bigger the buttons, the bigger the space you'll need between them, so the less you'll need.
3. Drilling takes the least amount of time in this entire process.


4. Cut the 1 inch foam to lay over the plywood, edge to edge.
5. I didn't glue or attach the foam to the board. I simply flipped the board and foam over onto the back side of the fabric.
6. Flap over one side of the fabric and staple every six inches.
7. Continue with the opposite side by pulling the fabric over very tightly and staple. Tighter than you think, especially with fabrics that stretch. Continue with the two other sides. 


8. Poke a hole through the fabric and feed the threaded ribbon through the fabric, foam and board.
9. Staple down one half of the ribbon, then pull the other half of the ribbon taught, even pushing in the button on the opposite side to create a tight hold, then staple down the other half of the ribbon. 
10. Repeat for all buttons.


You'll see the rest when we share Grayson's Gentleman Party pics.

Tuesday, December 27, 2011

First Year in Review

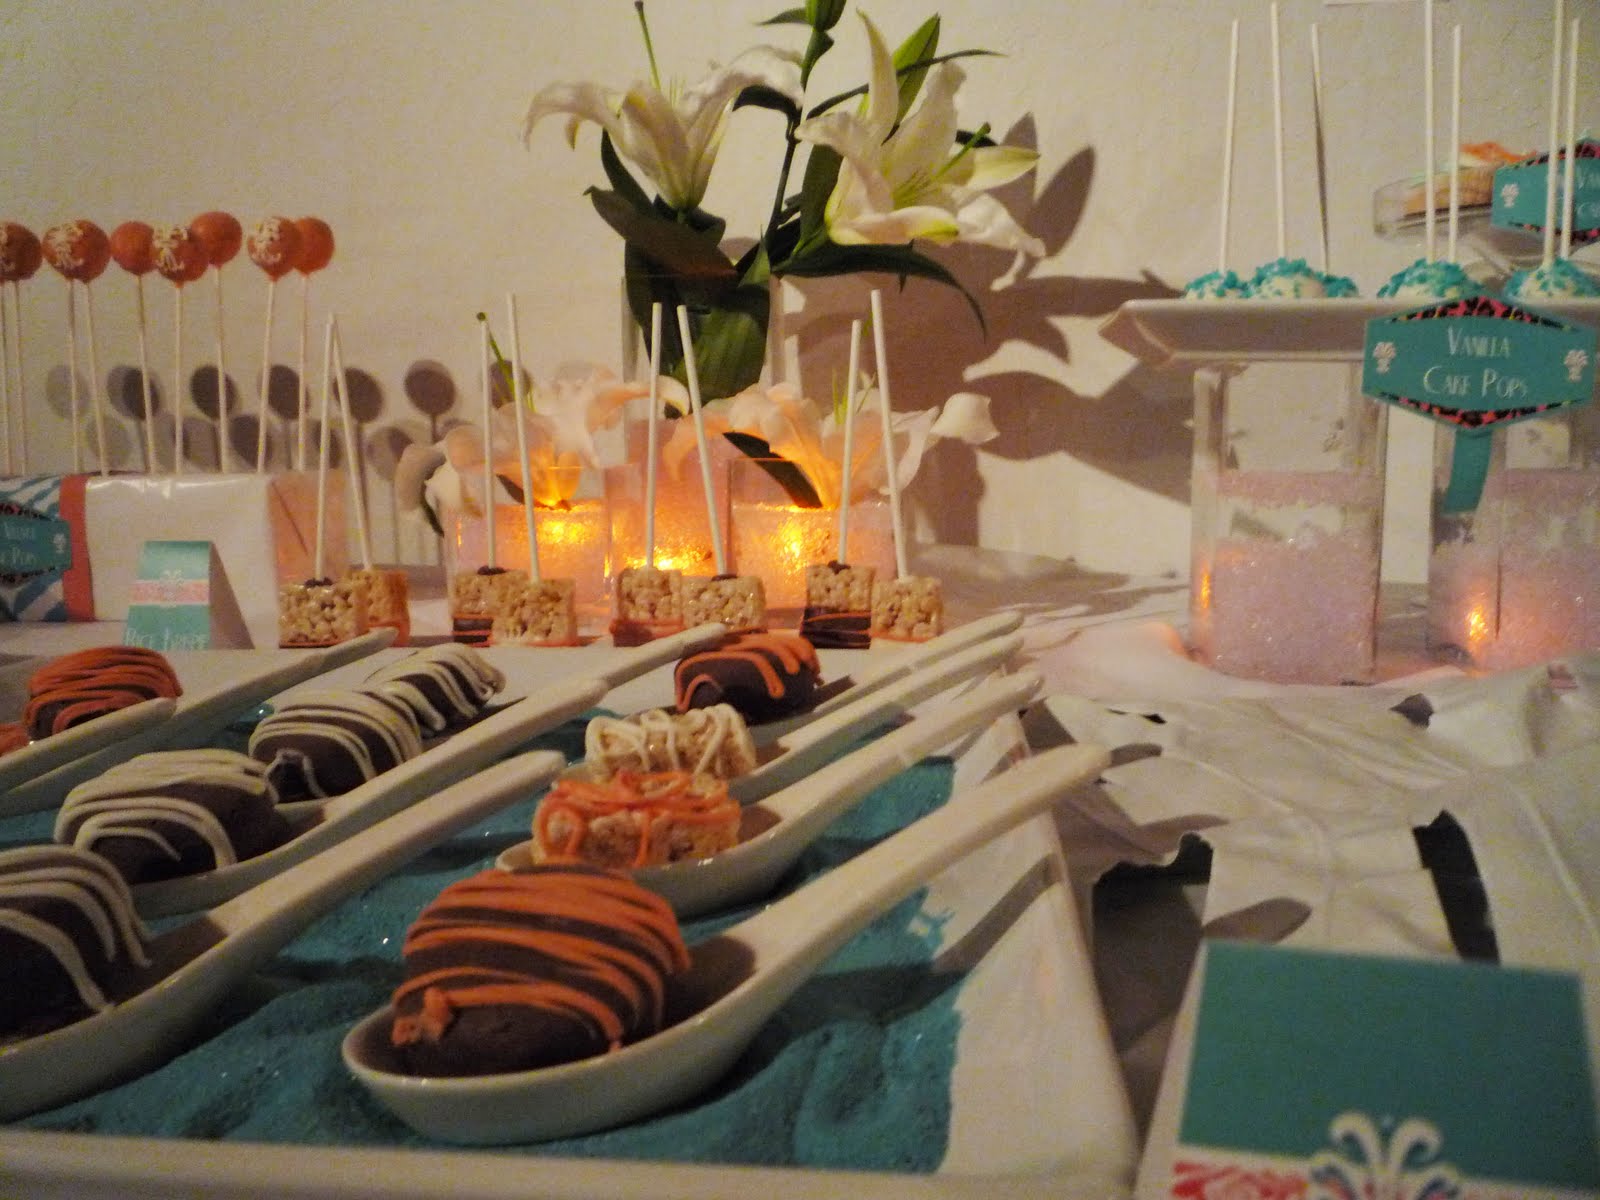
We're getting a little reminicent now that 2011 has come to a close. This year will always be special to us since this was our first year in business. We thought it would be fun to do a recap of all our parties, big and small. Although we started Honeycomb Events & Design in May, we still have a lot to show.


We mark the beginning of the company with Jennifer's daughter's 4th birthday party, which was a traditional Japanese theme in chartreuse, fig, and plum. It was our first attempt at a full blown dessert table.

See the whole party here.

 
June:Pink Champagne Bridal Shower
See the whole party here.

July: Carnival for a Preschool Graduation
See the whole party here.  

July: Safari Baby Shower
Love this shower? See more pictures here.

July: Pink & Black Wedding
See our blog post about this wedding here.

August: A Berry Sweet Farewell Retirement Party
See all the pictures from this event here.

August: CD Release Event


See all the glittery goodness here.

August: Havana Nights Party
See all the pictures here.  

September: Minnie Mouse Birthday Party


See all of the pictures from this party here.

September: Vintage Nautical Baby Shower

September: Harajuku Birthday Party
See all the pictures from this party here.

September: Glamour Hello Kitty Birthday Party

See the blog post about this dessert table here.

October: Green Lantern Birthday Party


Lots more pictures and creative details here!


October: 10th Anniversary Party

November: Rustic Faux Bois Shower (featured on Amy Atlas)


See all the beautiful pictures here.
See in on Amy Atlas here.

November: Reflections of a Fabulous Life Party

See all the pictures in our blog post here.

December: Styled Shoot- Radiant Red Ikat Holiday (featured on Hostess with the Mostess)


See the whole set of pictures from this shoot here.
See this party on Hostess with the Mostess.


So much more to come in 2012! Let us know if your next event needs a little touch of
Honeycomb.


We hope you had an Eventful Christmas and a Well Designed New Year!

PageList1